Are you considering using Submagic to edit your YouTube shorts but wondering if it’s a good fit? I get it. Using a new editing tool can sometimes be nerve-wracking. You get worried that it might be a complete waste of your time.
To help you overcome your misgivings, I will share my honest feedback on Submagic. To prove my opinion is honest, I will create a short YouTube clip for my travel channel in real-time as I write this post and share my observations as we move along.
That way, you will see for yourself if Submagic fits the bill—or if you should look elsewhere.
An Overview of Submagic
Before I get into sharing my opinion of Submagic, I thought it wise to give you an overview of the software. Yes, I know that you know it’s a video editing software. Pun intended 😆
But did you know it has an AI editing feature that makes it easy to create nice-looking video edits with minimal effort? Probably one of the small details you missed.
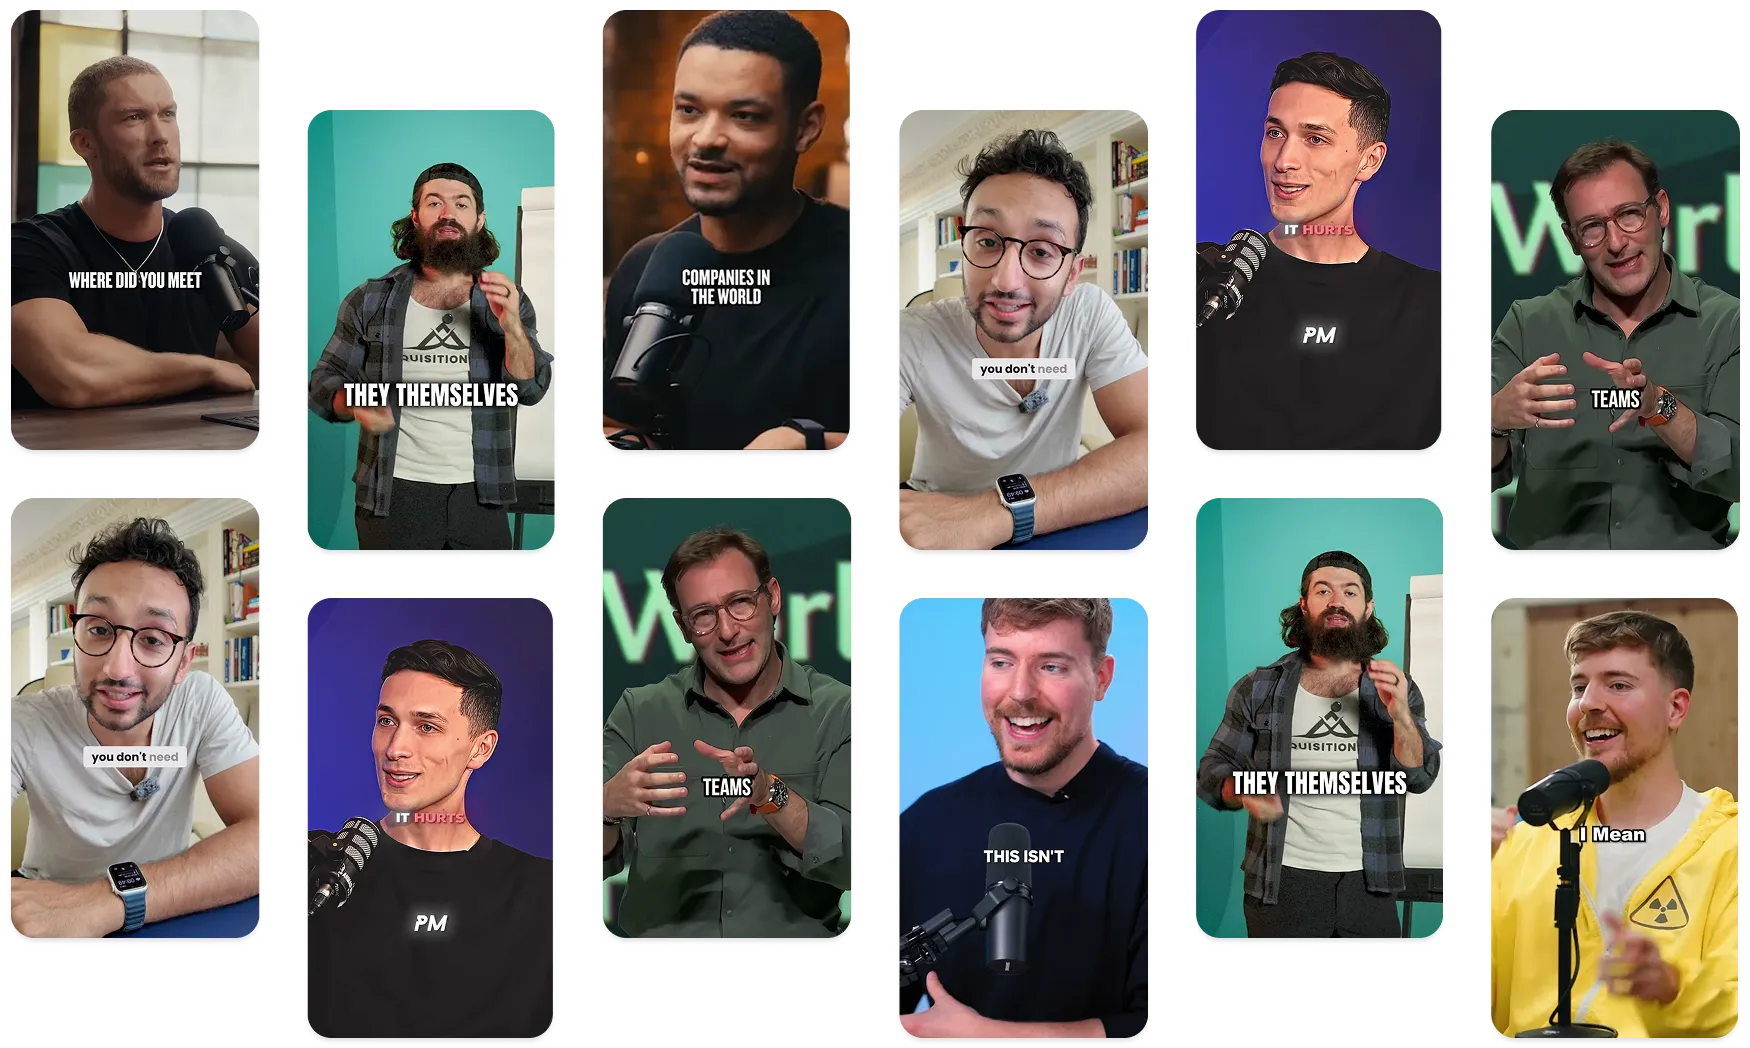
One of the reasons I like using Submagic for my edits is that it allows me to create captions for my videos in the styles of different popular creators without sweating it.
For example, I can edit my videos in Alex Hormozi or Iman Gadzhi styles by just clicking on a few buttons.
On top of that, Submagic handles video-to-text smoothly and effortlessly. Other features Submagic comes with include:
Okay, I know you are probably starting to think that I am shamelessly marketing Submagic. I mean why wouldn’t I for a tool that makes my editing life very easy? 😎
But you don’t have to take my words at face value. In the next section, I will create a YouTube Short right in front of you. In the end, you will decide for yourself if Submagic is worth it.
{{button-richtext}}
What I will Be Creating
I had the privilege of visiting Rwanda, an East African country, about a year ago. I made a documentary about it, which I have published on YouTube.
My goal is to recreate a very short clip of the documentary in portrait mode. Of course, I will use Submagic for this purpose.
Here’s what the final video looks like:
Let’s get started already!
Editing a Travel Documentary YouTube Short With Submagic
Watch me as I create a YouTube short with Submagic step by step.
Step 1: Create an Account
The first step, apparently, is to create an account on Submagic. Of course, I do have an account, but I figured you might not.
In case you are wondering, you can start using Submagic for free. However, the free version does have a watermark, meaning all your video exports will have Submagic branding on them. To avoid this, you’d have to upgrade to any of the paid plans, starting with the starter plan, which costs $14/month.
Here’s a breakdown of Submagic’s pricing:
{{button-richtext}}
Step 2: Upload the video
With my account all set up, the next step now is to upload a video clip. Thankfully, the process for uploading videos is straightforward. The best part is that you can upload multiple videos at a time.
As soon as you upload a video, Submagic will automatically start creating AI captions for it, which it finishes in a matter of seconds.
In less than 2 minutes, I have uploaded 3 videos and generated captions for them. Cool, huh?!
Step 3: Trim The Video
With the video uploaded, the next step is to trim it by removing the unnecessary parts. Thankfully, Submagic handles video trimming nicely.
You can even automatically remove silences, filler words, and use AI to clean your audio while trimming your video.
Step 4: Edit The Captions
The next step now is to edit the video captions. By default, Tiktok video captions are created in plain, white text without any styling. This is fine if you just want to create something basic. Otherwise, you might have to style things up a bit.
This is where the magic happens. Submagic allows you to style your captions the same way popular creators like Alex Hormozi, Devin, Iman, Mr. Beast, and several others do. And the best part is that you can apply these themes with just a click of a button.
Step 5: Finetune The Captions
You might want to finetune the captions by infusing additional text and deleting or editing some. Submagic makes that pretty easy. All you have to do is click the Captions tab and edit the text like so:
Another cool thing you can do here is to add emphasis to your text. Adding emphasis makes the text more pronounced, making it easy for them to be noticed.
To add emphasis to a text, simply click on the brush icon like so:
Another thing you can do here is to remove emojis from your video. By default, Submagic adds emojis to your captions, though this depends on the editing theme you are using.
You can easily remove these emojis by clicking this icon:
Want to add sounds to your edits to make them pop? Easy peasy, lemon squeezy. Submagic allows you to add different kinds of sound effects, caption by caption. For example, you can choose to add a swoosh sound effect to create a speeding effect.
To add one, click the microphone icon, and select the sound effect you would like to add. There are several sounds you can pick from, so suit yourself.
Want to move your captions around, hide them, add a new line of captions, or completely delete them? You can do all that by playing around with these control icons:
Step 6: Add B-rolls (Optional)
Adding B-rolls to your video edits can make them more engaging. This is another area where Submagic shines. It comes with a boatload of free and premium B-rolls, which you can easily add to your edits. These include videos, transitions, and images.
To add one, all you have to do is click the B-rolls tab, select the timeline where you want to add it, and select a video.
I like the way Submagic makes it easy to search for B-rolls. For example, if I searched for “travel” B-rolls, and it gave me this:
Did I forget to mention that you can add transition effects to the B-rolls you add to your videos? Are you beginning to see that Submagic gives you unlimited creative options?
Step 7: Boost Your Video (Optional)
The sixth step to editing with Submagic is boosting your video. By boosting, I mean adding AI hook titles, cleaning your audio, and generating AI Tiktok hashtags.
You could even go as far as adding logo/branding and background music to your video edits.
Step 8: Auto Reframe Your Video
Since this video was shot in landscape mode, it makes sense to convert it to portrait since it’s going to be published as a YouTube short. Luckily, Submagic handles video reframing nicely without any issues.
The cool part is that when reframing your video, you can manually adjust the positioning to make it fit well on the screen. Let me make a simple illustration to give you a better idea of what I am talking about:
Step 9: Export Your Video
By now, you have a creatively edited YouTube short video waiting to be shared with the world. Thankfully, Submagic makes exporting your video very easy. You can choose the video quality you prefer (Standard or 4K), as well as the frame rate (30 or 60 FPS).
What’s more, you can download the captions in your videos as an SRT file. You can also choose to export just your subtitles.
Here’s what the finished video looks like:
{{button-richtext}}
My Final Take On Submagic
I have tried a couple of video editing software in the last 3 years or so. From Adobe Premiere Pro to CapCut, and now Submagic, I can confidently tell you that Submagic is top-class when it comes to AI video editing.
Once you get a hang of it, you can knock out awesome YouTube shorts, with amazing animated captions, engaging B-rolls, and sound effects in a matter of minutes.
It took me less than 5 minutes to produce this short video clip.
Another reason why I believe Submagic is the best choice for YouTubers is because it supports team collaboration. You can add as many team members as you want and collaborate with them in real-time.
In case you missed it, here’s a quick breakdown of all the features Submagic offers:
Want to take Submagic for a spin? You can start with a free trial!


.webp)

.webp)

.webp)


